Your cart is currently empty!
5 Common Tile Mistakes and How to Avoid Them
Published
Categories


Tiling is one of those tasks that looks deceptively simple. You think it’s just about sticking tiles to the surface, right? Well, not exactly. The truth is, there are plenty of common mistakes that can trip you up, and if you’re not careful, they can ruin your whole project. The worst part? Many of these errors are easy to avoid if you just know what to watch out for.
Not Preparing the Surface Properly
It may seem like a small detail, but if the surface isn’t prepped right, the tiles won’t stick properly. Uneven floors, cracks, and debris can all interfere with the adhesive, causing tiles to shift, pop off, or crack over time. You wouldn’t build a house on an unstable foundation, and the same goes for tiling.
How to Avoid It:
- Clean and level the surface before laying tiles.
- Fix any cracks or holes and allow time for any repairs to dry completely.
Using the Wrong Adhesive
Choosing the wrong adhesive is like trying to use duct tape to fix a leaky pipe. Not all adhesives are created equal, and some won’t bond properly with certain surfaces or tiles. Using the wrong type can lead to tiles coming loose, warping, or even cracking.
What to Do:
- Always check the manufacturer’s recommendations for the type of adhesive suited for your tiles and surface.
- Consider the environment—wet areas like bathrooms need moisture-resistant adhesives.
Forgetting to Leave Room for Grout Lines
When you’re laying tiles, you might be tempted to set them as close together as possible, thinking it’ll make for a sleek, seamless look. But skipping grout lines can lead to a disaster. Tiles need space for expansion and contraction, and grout helps protect them from shifting.
How to Fix It?
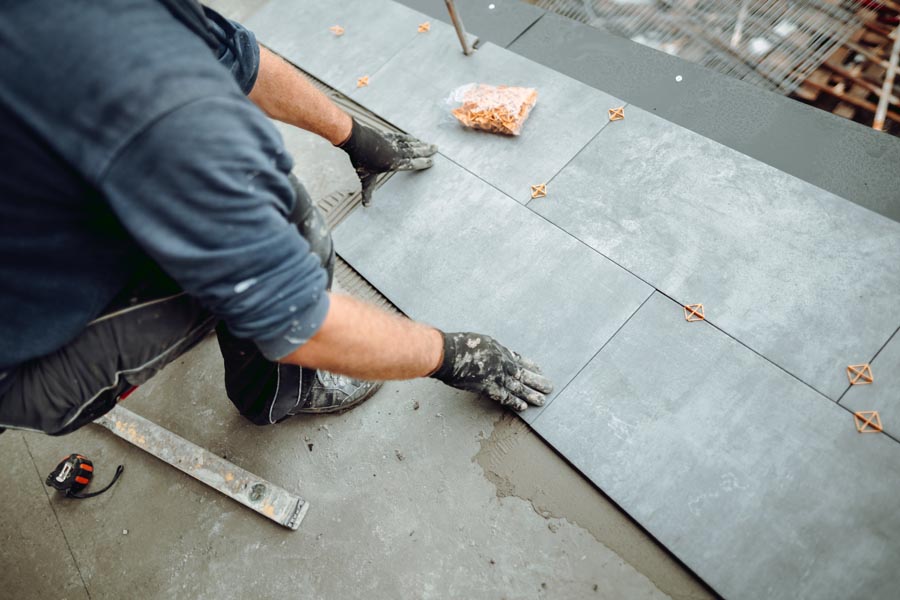
- Use tile spacers to ensure consistent gaps between tiles.
- Follow the recommended grout width for the type of tile you’re using.
Cutting Tiles Incorrectly
Tiles are not one-size-fits-all. You’ll need to cut some tiles to fit around corners or edges, and if you’re not cutting them right, you could end up with jagged edges or uneven cuts. Not only does it look bad, but it can also make installation more difficult.
Here’s the Trick:
- Use a proper tile cutter or wet saw for clean, precise cuts.
- Measure carefully and double-check before cutting.
Ignoring the Grout Sealing
After you’ve painstakingly laid the tiles and filled in the grout, you might think you’re done. But skipping the sealing step is a major mistake. Unsealed grout can absorb dirt, stains, and moisture, making it harder to clean and more prone to damage over time.
What to Do?
- Apply grout sealer after the grout has dried, following the product instructions.
- Reapply the sealer every few years to keep grout looking fresh.
Conclusion
Tiling is all about the details. From prepping the surface to sealing the grout, every step matters. Don’t let small mistakes derail your project—take the time to avoid these common errors, and you’ll end up with a professional-looking finish that’ll last for years.

Leave a Reply